Receipts on Account
Payments received from customers are entered into the Receipts form, which serves as a 'cash received on account' journal. Periodically receipts are posted. Posting receipts updates the accounts receivable subsidiary ledger for each individual payment received on account and also updates the general ledger with summary data. The summary data is posted directly to the general ledger. Omnis Mus displays a posting report at the completion of processing. The posting report confirms that the balances of the accounts receivable subsidiary ledger and the general ledger control account are in agreement after posting. The posting report also displays the summary journal entry data that was posted to the general ledger.
All items are explained below the figure.
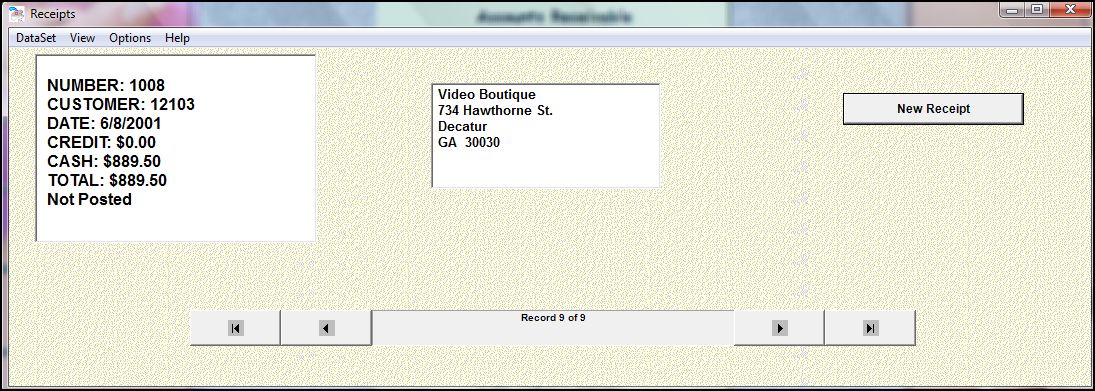
Receipts Form in Record View
New Receipt Button
Click this button to begin entry of a new receipt.
If the button is not visible, then Click DataSet; select All Receipts; Click View; select
Individual Record. The button will be visible.
Data Control (titled Receipts)
The data control allows you to move from one receipt to another. The four buttons on
the data control, from left to right, are used to move to the first entry in your
database, to the previous entry, to the next entry, or to the last entry.
Customer Data
Customer name and address are displayed in a textbox.
Data Fields
- Number
Number is an integer field that numbers Receipts. Number is set by Omnis Mus and cannot be edited. - Customer
Customer is the customer's 5-digit account number. - Date
Date the receipt was entered. - Credit
Amount of any allowances such as returns or discounts that reduce the customers balance. - Cash
The amount of cash remitted by the customer. - Total
This is the sum of the Credit field and the Cash field. - Posted
Posted means an receipt has been posted. A receipt can and will be posted only once. You cannot edit the Posted field.
Menu Choices
DataSet
DataSet is used to specify the set of displayed entries.
All Receipts
The DataSet includes all receipts.
Receipts that are not Posted
The DataSet includes only Receipts that have not been posted.
View
View sets the appearance of a journal. There are two views.
Record View
Individual Record view displays individual receipts. You use the data control to move from one receipt to another. You must be in Individual record view to add new receipts. The figure above illustrates Individual record view.
Datasheet View
Datasheet view display all of the receipts in a DataSet in a grid format. This provides a convenient way to scan all of your receipts' descriptive data. Double-click a row in the grid to move directly to the selected receipt in Individual Record view.
Options
Options collects processing functions.
Edit Receipt
Edit receipt allows you edit individual fields in an receipt.
Print or Paste
Print or Paste is used to copy data from Omnis Mus either to the Printer directly or to the Window's Clipboard for pasting into other applications.
Post Receipts
Post Receipts initiates the posting of receipts to the accounts receivable ledger.
Reverse Receipt
Reverse Receipt is used to reverse out a receipt that has been posted. This 'one-click' option facilitates effortless error correction.
Totals for DataSet
Totals for DataSet provides total amounts for the receipts in the current DataSet.
Void Receipt
Void receipt enables you to void a receipt that has not been posted. The voided receipt will not affect any totals and will not post.
Help
Help displays the common Help menu and the Accounting Glossary.
Entering a Receipt
Click the New Receipt button to begin entry of a new receipt. The following
sequence will occur:
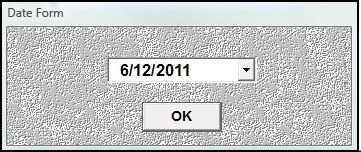
1. The Date form will display to accept a date.
2. The Account Listbox will display.
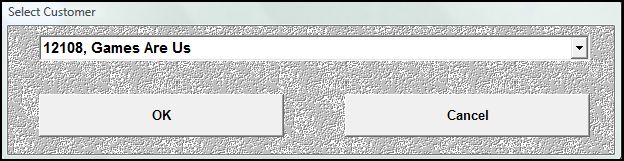
You select an account by selecting it in the Select Customer listbox, then clicking the OK button.
3. The Key Form will display for you to enter the Credit amount.
4. The Key Form will display for you to enter the Cash amount.
The following shows the Receipts form after entering a receipt for Customer 12107, dated June 12, with a Credit of $12 and Cash of $164.
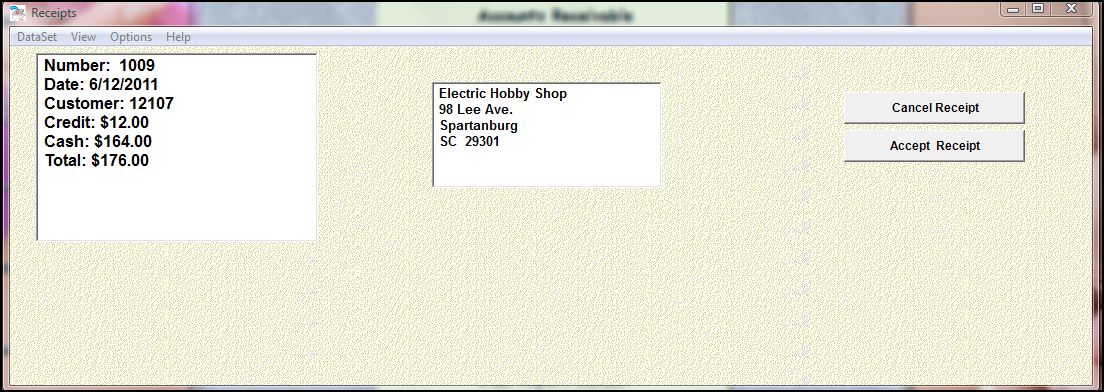
Click the 'Accept Receipt' button. The receipt form will display the receipt you have just entered in Individual Record view.